Data Modeling Introduction
Prerequisite:
- Installed Neat, see Installation
- Launched a notebook environment.
- Familiar with the
NeatSessionobject, see introduction
In this tutorial, we will publish an example data model to CDF.
Creating NeatSession
We will start by instansiating a NeatSession. The below steps assumes you are in a CDF Notebook
%pip install cognite-neat

from cognite.client import CogniteClient

from cognite.neat import NeatSession

client = CogniteClient()

neat = NeatSession(client)
Reading Data Model
We will read an example model that comes with neat.
neat
neat.read.examples.pump_example()
Success: Read NEAT(verified,physical,neat_playground,NeatHelloWorld,v1)
neat
Data Model
| level | physical |
|---|---|
| intended for | Data Engineer |
| name | Neat Hello World |
| space | neat_playground |
| external_id | NeatHelloWorld |
| version | v1 |
| views | 33 |
| containers | 3 |
| properties | 14 |
When we read a model in neat. We are now ready to look at the model
Inspect Model
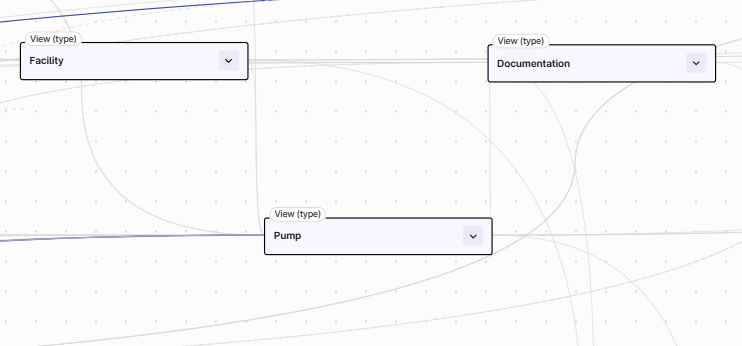
We can visualize the data model with the show command
neat.show.data_model()
http_purl.org_cognite_neat_data-model_verified_physical_neat_playground_NeatHelloWorld_v1.html
Deploy to CDF
We want to deploy this model to CDF.
First, instead of using the default data model ID, we set our own.
neat.set.data_model_id(("my_space", "HelloWorldModel", "v1"))
Success: NEAT(verified,physical,neat_playground,NeatHelloWorld,v1) → NEAT(verified,physical,my_space,HelloWorldModel,v1)
Then we deploy the data model to CDF.
neat.to.cdf.data_model()
You can inspect the details with the .inspect.outcome.data_model(...) method.
| name | unchanged | |
|---|---|---|
| 0 | spaces | 1 |
| 1 | containers | 3 |
| 2 | views | 3 |
| 3 | data_models | 1 |
| 4 | nodes | 0 |
Note that model is an extension of CogniteCore and thus includes CogniteCore types as well as the Pump, Facility and Documentation
Model to Excel
Finally, we can inspect the data model in Excel by using the to.excel command.
neat.to.excel("my_first_model.xlsx")
